Merry Christmas everyone! Today is a day of festivity, so enjoy it! Luckily for all of you, the team has a present to give. As game developers, we realize the importance of marketing yourself, and one great way of doing this is creating a blog, similar to this one. For all those curious about how they can go about starting their own blogs with Ghost, here is a high level explanation of how we did it.
Some Background
Ghost's goal is to make blogging simpler by bringing blogging back to its roots. It is not a full website development kit of any sort; with it you can create a theme, host a blog, and make and edit posts (so far). Later releases will include the ability to create static pages (such as an "About the Author" page), a dashboard to keep track of metrics, and much more. You can find out what features will be included when by looking at Ghost's Roadmap.
Ghost also has fairly well maintained documentation, available here.
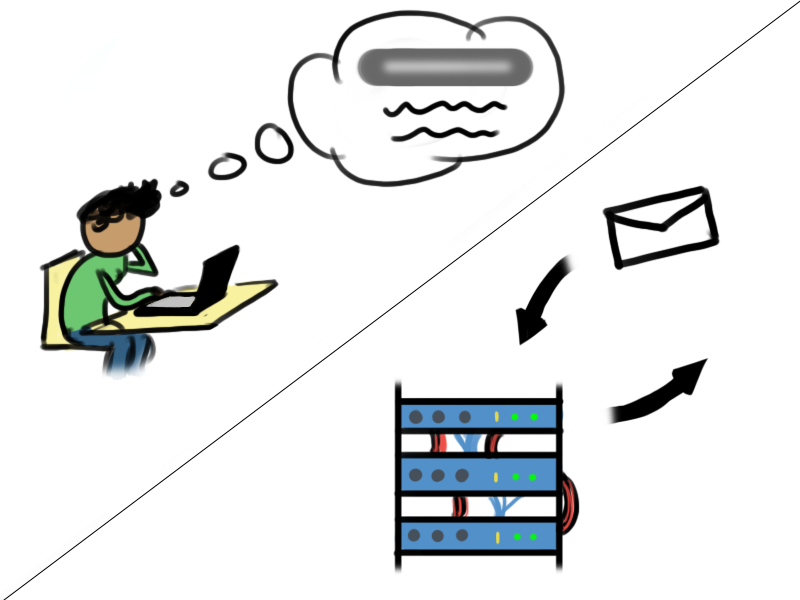
With this information in mind, we can split the development into two parts: creating the theme and securing the hosting (including mail).
Getting Setup -- Theme
I am not going to go through a step by step tutorial on creating this theme. Instead, I'm going to point you to the great place that taught me how to do it--WebDesign Tuts+. Their Ghost Theme Development session goes through everything needed to create a theme, from downloading and installing Ghost locally to making the entire theme responsive. They even provide a package which makes styling the theme easier, and once you are done, you have a template from which you can build other Ghost themes!
There is also the option of installing one of the prebuilt themes, most of which are shown on Ghost's Marketplace. In fact, you may not even want to get a new theme if you like the default Ghost theme (which I feel is quite nice, actually).
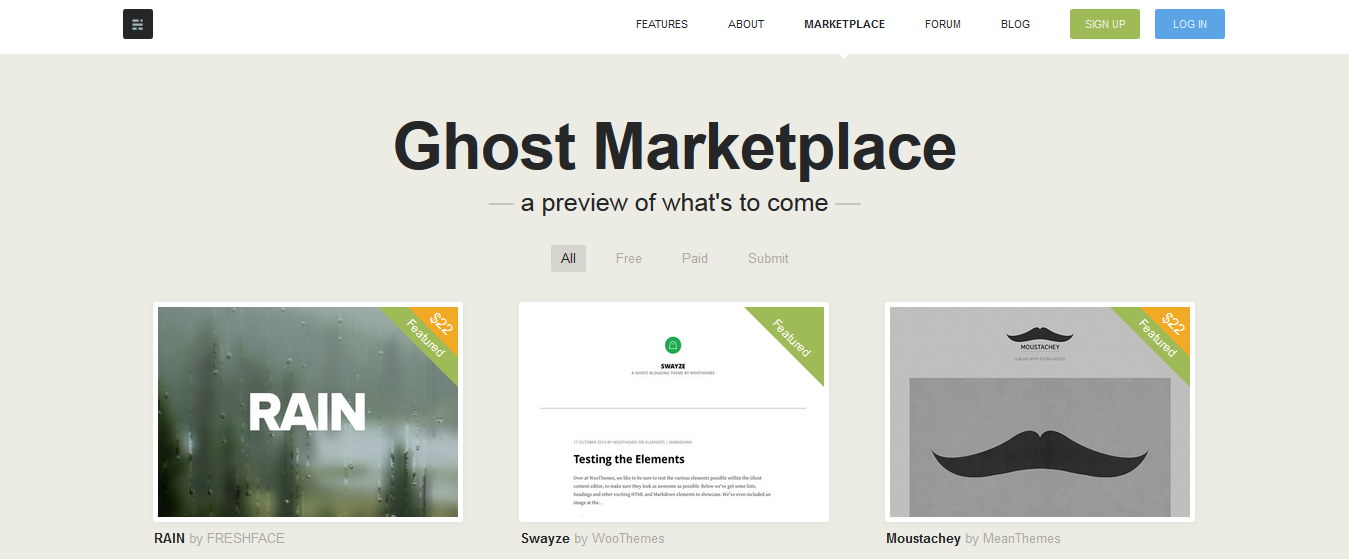
Either way, the method of installing a Ghost theme differs based on your hosting method, so read on.
Getting Setup -- Hosting
The next step to putting your Ghost blog on the web is getting it hosted on a server. There are plenty of options to choose from when hosting, and this post at All About Ghost does a very good job of comparing them. Certain hosting options will not provide you with a domain name, such as DigitialOcean, while others will provide you one and give you the option to switch it to your own if you have one. I haven't tried all the hosting options nor have I researched all of them in depth, so I can't say which one is easiest. I can say, however, that Ghost has rolled out its own hosting platform, and it is very easy to get started with it. You can also setup your own domain with it, if you don't want to use the .ghost.io extension they provide.
More manual installation can be done if you have server space already available; the Ghost guide discusses this as well. My two cents here is that for the Node.js and npm installation, this 30 second installation (the first method) worked quite nicely for my testing server.
I already had a little bit of server space over at Hurricane Electric, so I used that as my testing server. I ensured the spelling was all correct, links redirected properly, etc. The config.js file will need to be changed in the proper section (development/production) to reflect the ip of the server you are using and the url. For my testing server, I had a setup similar to this:
development: {
    // The url to use when providing links to the site, E.g. in RSS and email.
    url: 'http://PUT YOUR URL HERE',
    // Example mail config
    // Visit http://docs.ghost.org/mail for instructions
    // ```
    //  mail: {
    //      transport: 'SMTP',
    //      options: {
    //          service: 'Mailgun',
    //          auth: {
    //              user: 'YOUR_MAILGUN_USER',// mailgun username
    //              pass: 'YOUR_PASS'  // mailgun password
    //          }
    //      }
    //  },
    // ```

    database: {
        client: 'sqlite3',
        connection: {
            filename: path.join(__dirname, '/content/data/ghost-dev.db')
        },
        debug: false
    },
    server: {
        // Host to be passed to node's `net.Server#listen()`
        host: 'YOUR_SERVER_IP',
        // Port to be passed to node's `net.Server#listen()`, for iisnode set this to `process.env.PORT`
        port: 'CHOSEN PORT'
    }
},
For my production server I chose to use DigitalOcean; in the config.js the ip and port didn't need to be changed, only the domain name. The DigitalOcean console let me deal with the domain-ip redirecting. In fact, if you happen to be using DigitalOcean, here is the guide to get you up and running: DigitalOcean Ghost Setup. Quite painless, it is.
Getting your theme on the server if you developed one locally is easy; just use an FTP client (WinSCP, FileZilla) to transfer your theme's folder to the ghost/content/themes folder on your server. As for installing a theme you got online, Ghost or the hosting service should describe how to do that.
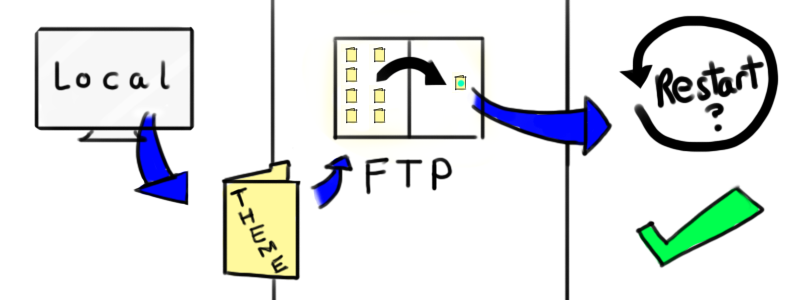
IMPORTANT: In my experience, a change to my theme did not come through on the actual blog. In order to actually make this work, I had to:
- clear the cache
- change the theme on the local machine's version
- delete the theme on the server
- transfer the changed theme
- restart the ghost server, if the theme hasn't changed
Of course, I only worked on DigitalOcean and Hurricane Electric, so I can't say if this is true for other hosting options.
An important part of the hosting is getting yourself a mail server. Right now Ghost only needs it to send you a "forgotton password" email, but later on it will have more uses.
Ghost recommends Mailgun as the mail server, but it also describes other options. I used Mailgun, and the code snippet above shows that for Mailgun, all I had to do was put the user and password information to get it setup. Granted, you will need to remove the comments, but that is easily done. The Ghost Email Guide explains this all well.
Conclusion
Phew! That was a long post. Next time I might split posts like these into parts. Anyway . . . after doing all this, the blog should be up and running. If you are experiencing troubles with the process, feel free to email me. If not, well, go ahead and make some posts!