It's the end of spring break for us, which means it's high time for another update. “Update” means pretty pictures, so a gif:
In this post I'll talk about the look development of the whole thing. So let's get started.
From Humble Beginnings
Last time you saw the game, it looked like this:
That art was more “placeholder” art. I wanted to make the player feel like he or she is moving very quickly through a tunnel with lights evenly spaced within. Thus, I needed the lines of the tube to darken and lighten evenly. I could have painted a diffuse/color map with light and dark areas, but I decided to lightmap it. Why? Well, 1) with actual lights generating the lightmap the result is more realistic, and 2) I wanted to learn the process.
So I went into Blender, set up a lighting scheme, rendered the textures, and plopped them into the game. The result was this:
To me, this looked pretty good. But I was bothered by the fact that the lights weren't as bright as I wanted them to be. Something about lightmapping that I hadn't realized was that with basic lightmapping, things don't get brighter. They only get darker. That is because the traditional lightmap is multiplied over the diffuse, such that white on the lightmap acts as a pass-through (value of 1.0) and anything darker reduces the brightness on the diffuse map (read this polycount article for more). You can manipulate this, however, by defining how the multiply layer effect occurs in your game. If you set 0.5 to be your pass value, then anything above get brighter, and anything below get darker. You have to be aware though, because unless you scale it appropriately, the things that get darker don't get as dark as they would originally.
But where would you even write the code to deal with this?
The Answer: Shaders
Ahh yes. What a buzzword. The be-all and end-all of any cool effect ever achieved in a videogame. I always knew when I started learning about graphics and game development that I wanted to learn how to write shaders. I thought my graphics course in college would teach me that. Alas, it taught me many important things which I use right now when I think about this game, but it did not teach me shaders. However, after spending a solid day understanding how shaders work (in general and in jMonkeyEngine), I figured it out. They work the same pretty much everywhere, and honestly, they aren't that complicated. It is true that they can get very complicated, but to learn them isn't so hard. In fact, if you want to learn about them, I recommend this article.
But yeah, shaders are where I could define how multiplication would occur. However, it became apparent when playing the game that we wanted it to be much brighter overall. We wanted it to have bright vehicles, bright obstacles, bright lines, and be very vibrant. Thus, I worked to achieve brightness without walking too far way from my initial idea. Which resulted in this:
Pretty colors, right? Let me walk you through the shaders that made this possible:
Vertex Shader
uniform mat4 g_WorldViewProjectionMatrix;
attribute vec3 inPosition;
attribute vec2 inTexCoord;
uniform float g_Time;
uniform sampler2D m_LightMap;
uniform sampler2D m_DiffuseMap;
varying vec2 uvCoord;


void main(){
    //Transformation of the object space coordinate to projection space
    //coordinates.
    //- gl_Position is the standard GLSL variable holding projection space
    //position. It must be filled in the vertex shader
    //- To convert position we multiply the worldViewProjectionMatrix by
    //by the position vector.
    //The multiplication must be done in this order.

    uvCoord = inTexCoord;


    gl_Position = g_WorldViewProjectionMatrix * vec4(inPosition, 1.0);

}
It's a pretty standard vertex shader. By definition, a vertex shader manipulatesw where the vertices of a model end up on screen space. It just takes in the vertex position and converts it to the appropriate screen coordinates. The game time, light map, and diffuse map are passed in to be shared across both the vertex and the fragment shader. The “uniform” declaration means the information is given to the shader from elsewhere, and is shared across both parts. The “varying” declaration means that the variable will be passed from the vertex shader to the fragment shader. The vertex shader also has a bunch of information that comes into it that is related to the current vertex, all prepended with “in”. These are declared as “attributes.” Therefore, you can see the use of inTexCoord (the UV texture coordinate of the current vertex) and inPosition (the 3D position in model space). You can usually look up what information comes into the vertex shader.
Fragment Shader
A fragment shader decides the color of each fragment (pixel, less accurately). My fragment shader is much more interesting. Let's take a look:
uniform float g_Time;
uniform sampler2D m_LightMap;
uniform sampler2D m_DiffuseMap;
varying vec2 uvCoord;
void main(){
    vec4 df_color = texture2D(m_DiffuseMap, uvCoord);
    vec4 lp_color = texture2D(m_LightMap, uvCoord);
    vec4 cur_color = lp_color * df_color * 2.0;

    vec4  kRGBToYPrime = vec4(0.299, 0.587, 0.114, 0.0);
    vec4  kRGBToI = vec4(0.596, -0.275, -0.321, 0.0);
    vec4  kRGBToQ = vec4(0.212, -0.523, 0.311, 0.0);
    vec4  kYIQToR   = vec4 (1.0, 0.956, 0.621, 0.0);
    vec4  kYIQToG   = vec4 (1.0, -0.272, -0.647, 0.0);
    vec4  kYIQToB   = vec4 (1.0, -1.107, 1.704, 0.0);

    // Convert to YIQ
    float   YPrime  = dot (cur_color, kRGBToYPrime);
    float   I      = dot (cur_color, kRGBToI);
    float   Q      = dot (cur_color, kRGBToQ);

    // Calculate the hue and chroma
    float   hue     = atan (Q, I);
    float   chroma  = sqrt (I * I + Q * Q);

    // Make the user's adjustments
    hue += g_Time;

    // Convert back to YIQ
    Q = chroma * sin (hue);
    I = chroma * cos (hue);

    // Convert back to RGB
    vec4    yIQ   = vec4 (YPrime, I, Q, 0.0);
    cur_color.r = dot (yIQ, kYIQToR);
    cur_color.g = dot (yIQ, kYIQToG);
    cur_color.b = dot (yIQ, kYIQToB);

    // Save the result
    gl_FragColor    = cur_color;
}
The first two lines are standard—read in the diffuse texture color and the lightmap texture color for this vertex. The third line is where, for a normal lightmap, I would multiply the two colors together. However, I multiply the result by 2. What does this do? If the lightmap were at 50% gray, then the shader treats it as white and keeps the diffuse color. Any higher and the diffuse color is brightened. However, as I said previously, things don't get as dark. Only the blacks stay black (0 multiplied by anything is 0).
The convoluted code below is what changes the hue of the colors over time. Honestly, I don't understand all the specifics of the algorithm, but it essentially converts the RGB space into an alternate space where one can then simply do a rotation calculation to shift the hue to something else. I do a rotation based on the time. At an even higher level of abstraction, you can see that it's difficult to change the hue of the color in RGB. If you had an HSV representation, you could just change the hue value and be done with it. I recommend reading this (it is where I got this code from). I'll be doing more reading about it too.
Extra Step
Now, my next decision was probably completely unnecessary and may not make it into actual gameplay, but I couldn't resist it with my newfound powers. First, I'll show you a new vertex shader (only the last line is different):
uniform mat4 g_WorldViewProjectionMatrix;
//The attribute inPosition is the Object space position of the vertex
attribute vec3 inPosition;
attribute vec2 inTexCoord;
uniform float g_Time;
uniform sampler2D m_LightMap;
uniform sampler2D m_DiffuseMap;
varying vec2 uvCoord;


void main(){
    //Transformation of the object space coordinate to projection space
    //coordinates.
    //- gl_Position is the standard GLSL variable holding projection space
    //position. It must be filled in the vertex shader
    //- To convert position we multiply the worldViewProjectionMatrix by
    //by the position vector.
    //The multiplication must be done in this order.

    uvCoord = inTexCoord;

    gl_Position = g_WorldViewProjectionMatrix * vec4(sin(g_Time+inPosition.x)*0.5 + inPosition, 1.0);
}
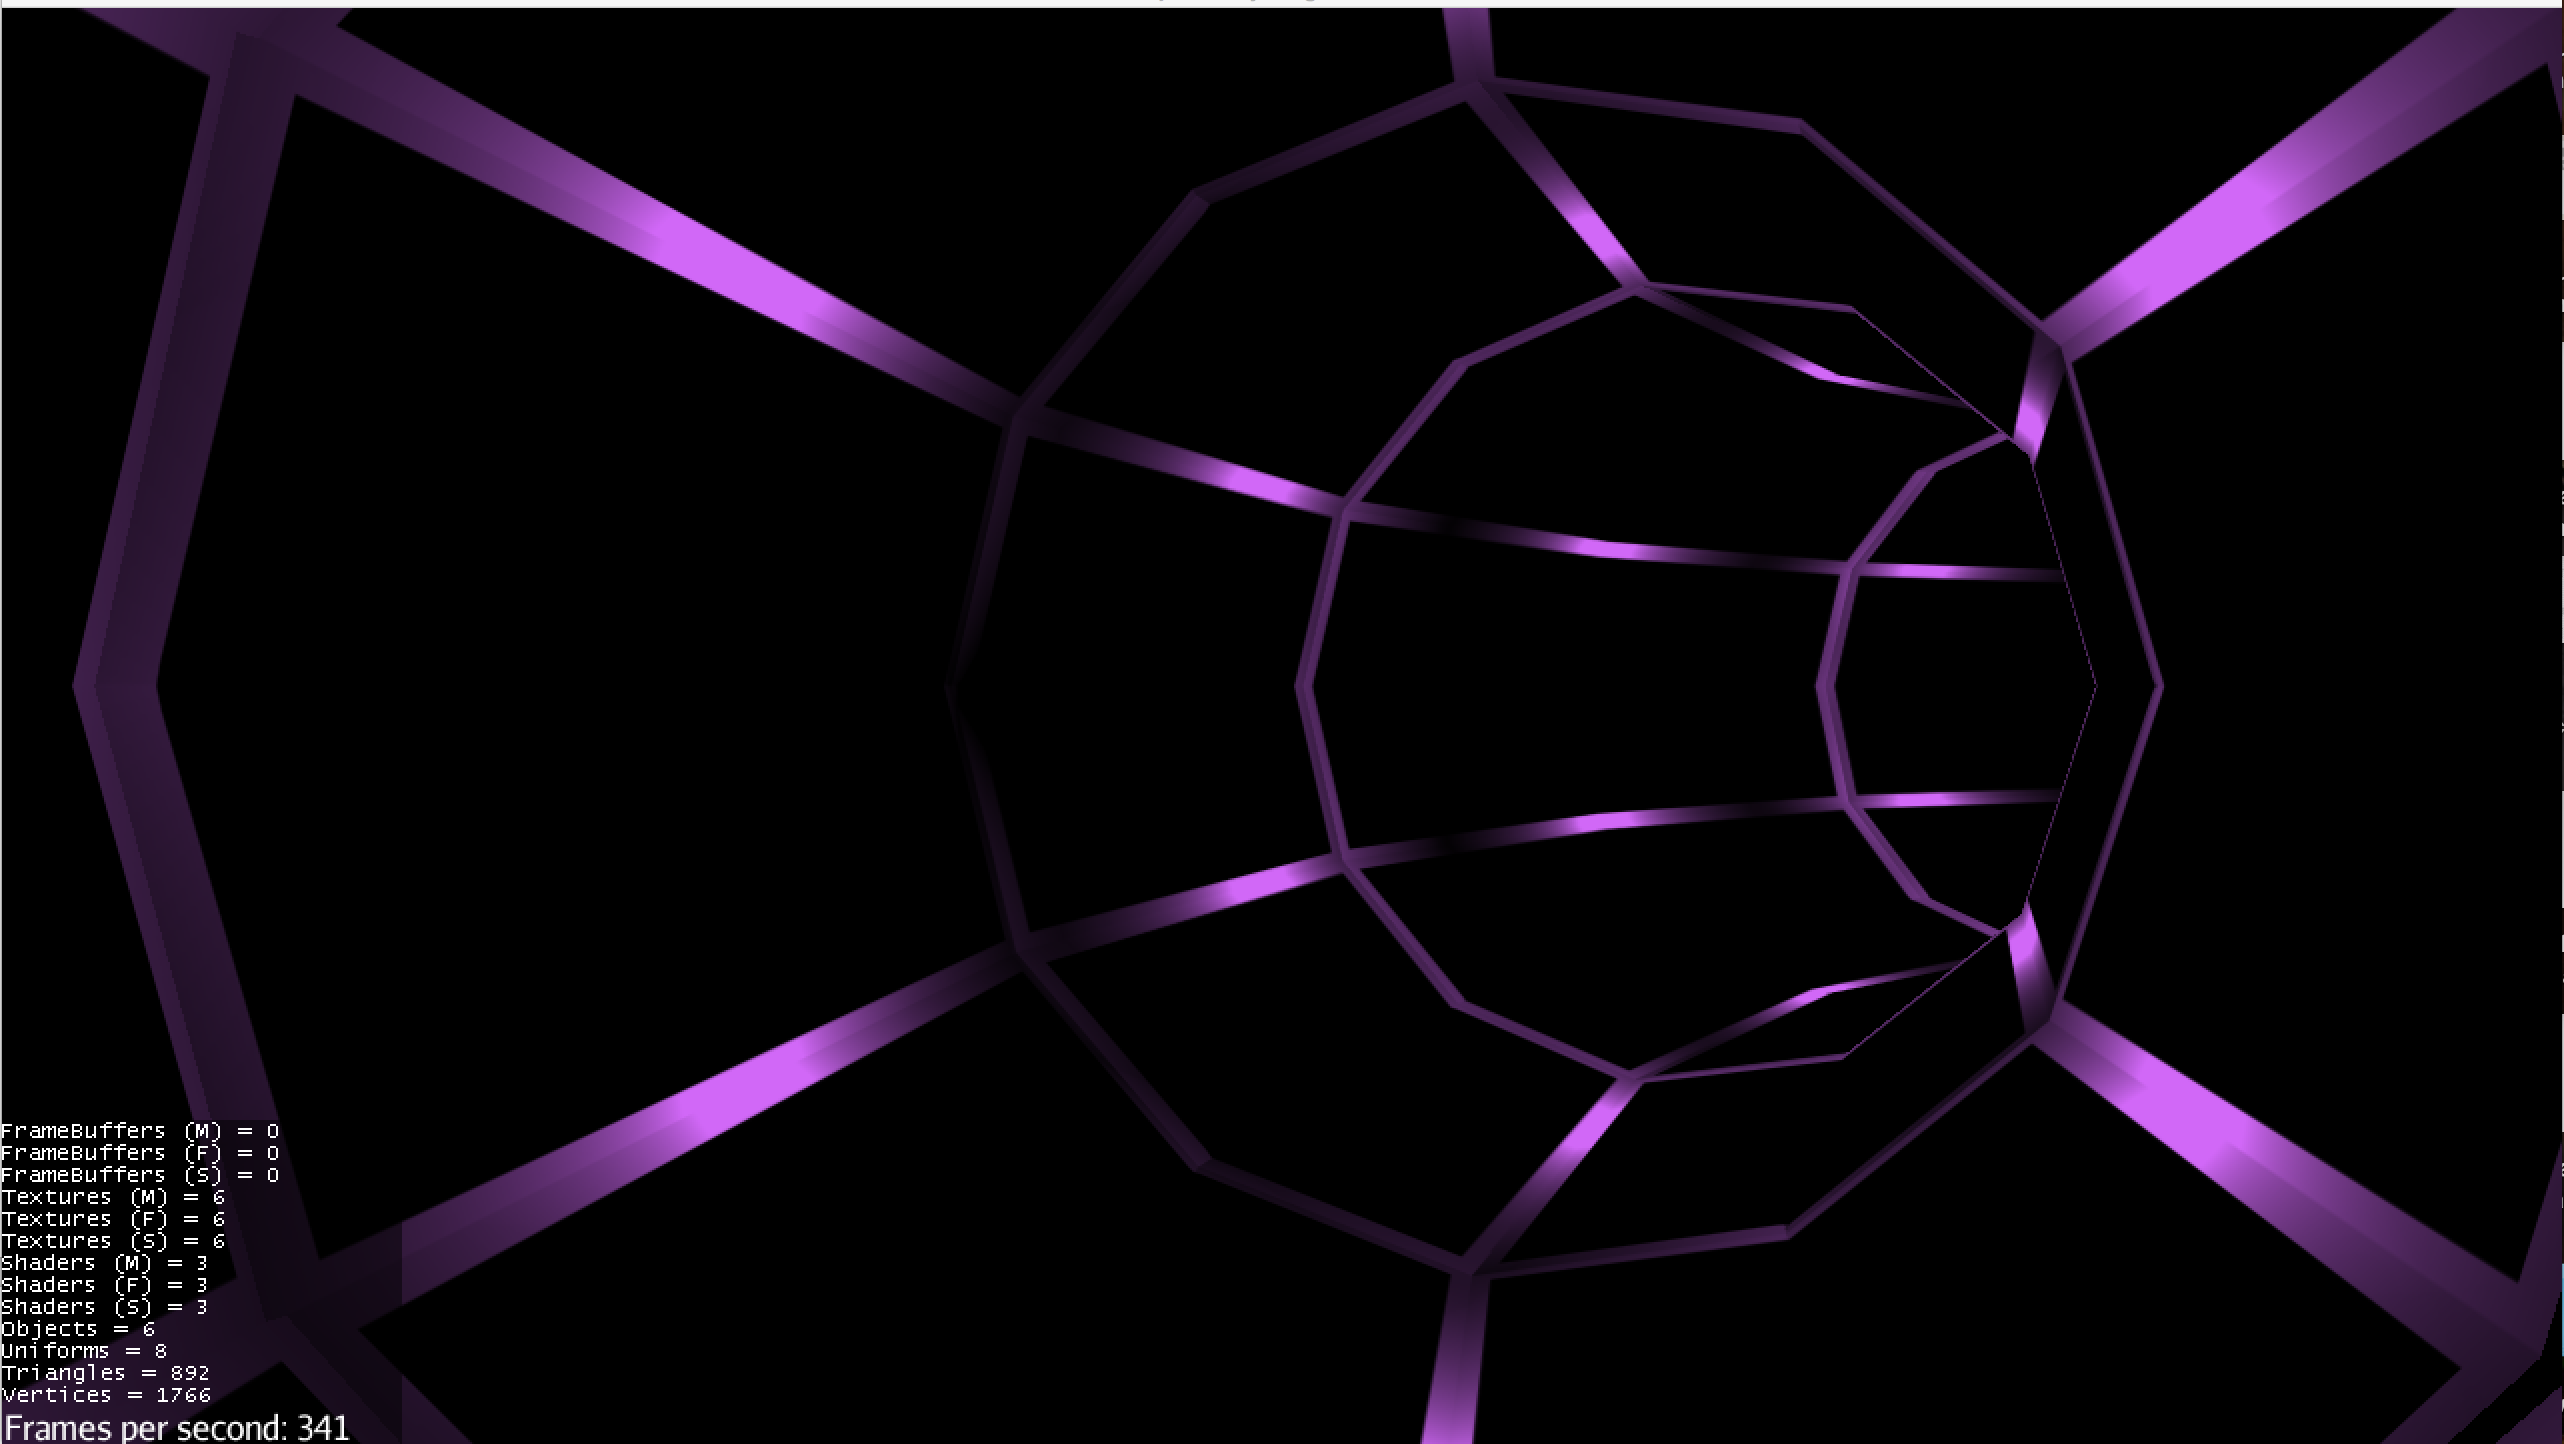
It simply scales the sine of the addition of the game time and the vertex's x position and adds the result to the current position. Here's what it actually does:
I'm sorry, I just couldn't help myself. Maybe it's cool, and playtesters will love the idea. Or, everyone will say that it just distracts from the actual goal of the game. Either way, I'm just glad I now know enough to do this kind of thing.
In Conclusion
I don't know how much of this will make it to the final iteration of the game, but regardless I think this spring break was very well spent. Let me know if you have any questions regarding the shaders or any aspect of this post (feel free to correct me if I said something wrong). Maybe I'll let you guys tell me whether or not you think the result is interesting enough to keep!